This is the ultimate “crowd-pleaser” dessert. It hits that perfect balance of a crunchy, buttery base, a tangy and velvety filling, and a bright, fruity finish. Since it requires zero oven time, it’s the perfect stress-free recipe for summer parties or holiday dinners.
Introduction
Forget the water baths and the fear of cracks—this No-Bake Cherry Cheesecake is all about maximum flavor with minimum effort. By using whipped heavy cream instead of eggs, we achieve a texture that is lighter and airier than a traditional baked New York cheesecake, yet rich enough to feel indulgent. It’s a classic “fridge cake” that only gets better the longer it sits.
Meta Description
Master the art of the No-Bake Cherry Cheesecake with this easy step-by-step recipe. Featuring a buttery graham cracker crust and a fluffy cream cheese filling topped with sweet cherries.
Ingredients
For the Crust:
- 1 ½ cups Graham cracker crumbs
- 6 tbsp Unsalted butter, melted
- 2 tbsp Granulated sugar
For the Filling:
- 16 oz (2 blocks) Cream cheese, softened to room temperature
- 1 cup Powdered sugar (confectioners’ sugar)
- 1 tsp Vanilla extract
- 1 ½ cups Heavy whipping cream, cold
- 1 tbsp Lemon juice (adds a necessary tang)
For the Topping:
- 21 oz (1 can) Cherry pie filling
Instructions (Step-by-Step)
- Prep the Crust: In a medium bowl, mix the graham cracker crumbs, sugar, and melted butter until it looks like wet sand. Press the mixture firmly into the bottom of a 9-inch springform pan or a 9×9 square dish. Chill in the freezer for 15 minutes to set.
- Whip the Cream: In a chilled bowl, beat the cold heavy whipping cream until stiff peaks form. Set this aside in the fridge.
- Cream the Cheese: In a separate large bowl, beat the softened cream cheese and powdered sugar together until completely smooth and lump-free. Mix in the vanilla extract and lemon juice.
- The Fold: Gently fold the whipped cream into the cream cheese mixture using a spatula. Do this slowly to keep the air in the mixture; do not use an electric mixer for this step.
- Assemble: Spread the filling evenly over the chilled crust. Use a spatula to smooth the top.
- The Long Chill: Cover and refrigerate for at least 6 to 8 hours (overnight is best). The filling needs this time to “set” so it can be sliced cleanly.
- The Topping: Just before serving, spread the cherry pie filling over the top. If you add the cherries too early, the red syrup may bleed into the white filling.
Service Suggestions
- The Clean Slice: To get professional-looking slices, dip a sharp knife in hot water and wipe it clean between every single cut.
- Extra Indulgence: Serve with an extra dollop of fresh whipped cream or a dusting of shaved dark chocolate.
- Individual Jars: You can layer the crust, filling, and cherries into small mason jars for a portable “deconstructed” version.
Storage Tips
- Fridge: Store covered in the refrigerator for up to 5 days.
- Freezer: This cheesecake freezes surprisingly well! Freeze without the cherry topping for up to 1 month. Thaw in the fridge overnight before adding the cherries and serving.
FAQs
- Why is my no-bake cheesecake runny?
Usually, this happens if the heavy cream wasn’t whipped to stiff peaks or if the cream cheese wasn’t full-fat. Also, ensure you chill it for the full 6 hours! - Can I use a different fruit?
Absolutely. Blueberry, strawberry, or even lemon curd work beautifully with this base. - Do I have to use a springform pan?
No, a standard glass baking dish works perfectly, though you’ll serve it as squares rather than traditional cake wedges.
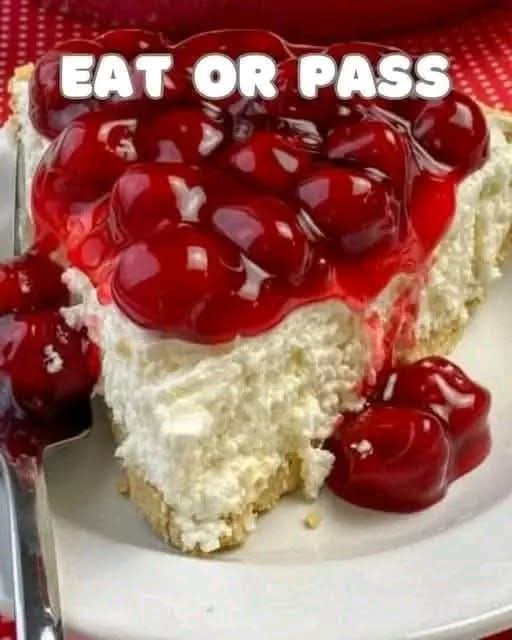
Conclusion
Whether you’re a beginner baker or a seasoned pro looking for a shortcut, this No-Bake Cherry Cheesecake is a guaranteed win. It’s cool, creamy, and visually stunning—the perfect “Eat” in an “Eat or Pass” challenge!