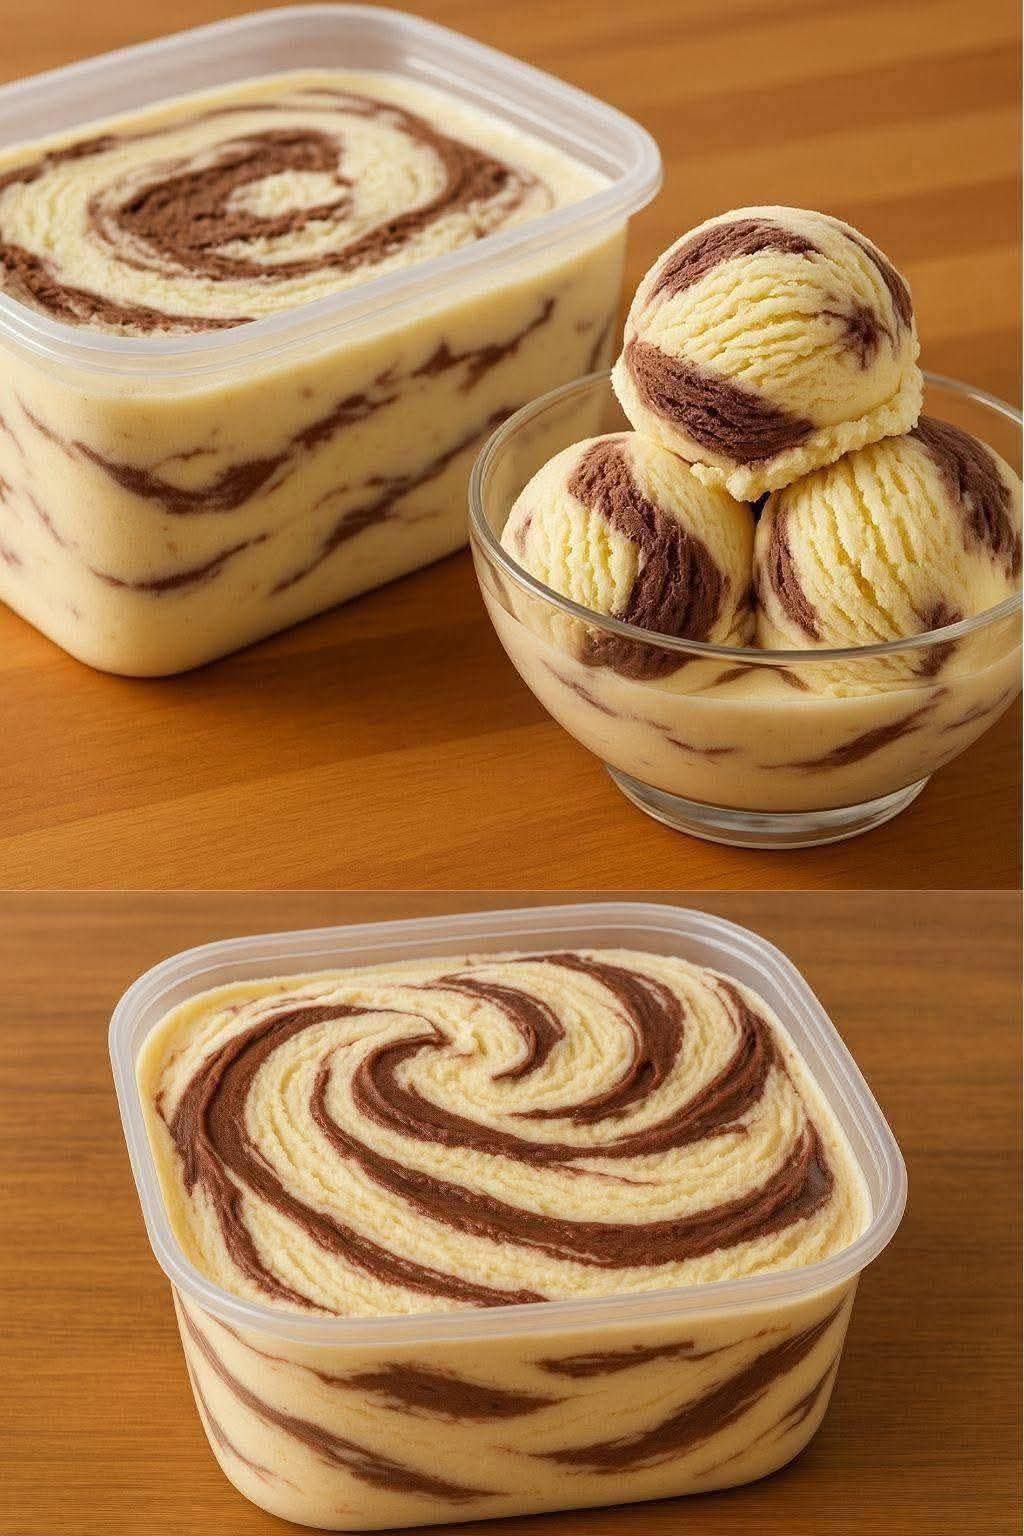
This recipe delivers a luxuriously creamy, professional-looking marble ice cream without the need for an expensive ice cream maker. By using a few simple ingredients, you can achieve that perfect “scoopable” texture and a beautiful chocolate-vanilla swirl that looks just like the photo.
Meta Description: Master the art of homemade ice cream with this easy, rich, no-churn marble swirl recipe. No machine required—just 5 ingredients for a creamy, gourmet dessert!
Ingredients
| Component | Ingredients | Quantity |
|---|---|---|
| The Base | Sweetened Condensed Milk (chilled) | 1 can (14 oz / 400g) |
| Heavy Whipping Cream (cold) | 2 cups (480ml) | |
| Pure Vanilla Extract | 1 tbsp | |
| Salt | 1 pinch | |
| The Swirl | Cocoa Powder (unsweetened) | 3 tbsp |
| Hot Water or Chocolate Syrup | 2 tbsp (if using cocoa powder) |
Instructions
1. Prepare the Chocolate Paste
In a small bowl, whisk together the cocoa powder and hot water (or chocolate syrup) until it forms a smooth, thick paste. Set this aside to cool completely.
2. Whip the Cream
In a large chilled bowl, pour in the cold heavy whipping cream. Using a hand mixer or stand mixer, whip the cream on medium-high speed until stiff peaks form.
Tip: Be careful not to over-whip, or it will turn into butter!
3. Fold in the Sweetened Condensed Milk
Gently pour the chilled sweetened condensed milk, vanilla extract, and salt into the whipped cream. Using a rubber spatula, fold the mixture together gently. You want to keep as much air in the mixture as possible to ensure a light, creamy texture.
4. Create the Marble Swirl
- Pour about half of the vanilla base into a freezer-safe container.
- Drop small dollops of the chocolate paste over the surface.
- Pour the remaining vanilla base on top.
- Add the rest of the chocolate paste.
- Use a butter knife or a skewer to gently swirl the chocolate through the vanilla in a “figure-8” motion. Do not over-mix, or it will just turn light brown!
5. Freeze
Smooth the top with a spatula. Cover the container with a lid or plastic wrap (press the wrap directly onto the surface to prevent ice crystals). Freeze for at least 6 to 8 hours, preferably overnight.
Service Suggestions
- The Classic Scoop: Serve in a chilled glass bowl (as seen in your image) to show off the beautiful marbling.
- Warm Contrasts: Serve alongside a warm brownie or a slice of apple pie.
- Toppings: Enhance the richness with a drizzle of salted caramel or a handful of toasted hazelnuts.
Storage Tips
- Temperature: Store in the deepest part of the freezer (avoid the door) to maintain a consistent temperature.
- Longevity: This ice cream is best enjoyed within 2 weeks.
- Softening: Since this doesn’t contain stabilizers like store-bought ice cream, let it sit on the counter for 3–5 minutes before scooping for the perfect texture.
FAQs
Q: Can I use low-fat cream?
A: No. You need the high fat content (at least 36%) of heavy whipping cream to create the structure and creaminess. Low-fat versions will result in an icy, hard texture.
Q: Why is my ice cream too hard to scoop?
A: This usually happens if the condensed milk wasn’t full-fat or if it froze for several days. Simply let it sit out for a few minutes; it will soften beautifully.
Q: Can I add mix-ins?
A: Absolutely! Fold in chocolate chips, crushed cookies, or swirl in some peanut butter along with the chocolate.Conclusion
You don’t need a fancy kitchen gadget to enjoy gourmet dessert. This No-Churn Marble Swirl Ice Cream proves that with just a bit of whipping and folding, you can create a treat that is richer and more satisfying than anything from a carton. Enjoy the process of creating those beautiful swirls!