Cream Cheese Pancake (No-Bake Cheesecake-Style Cake)
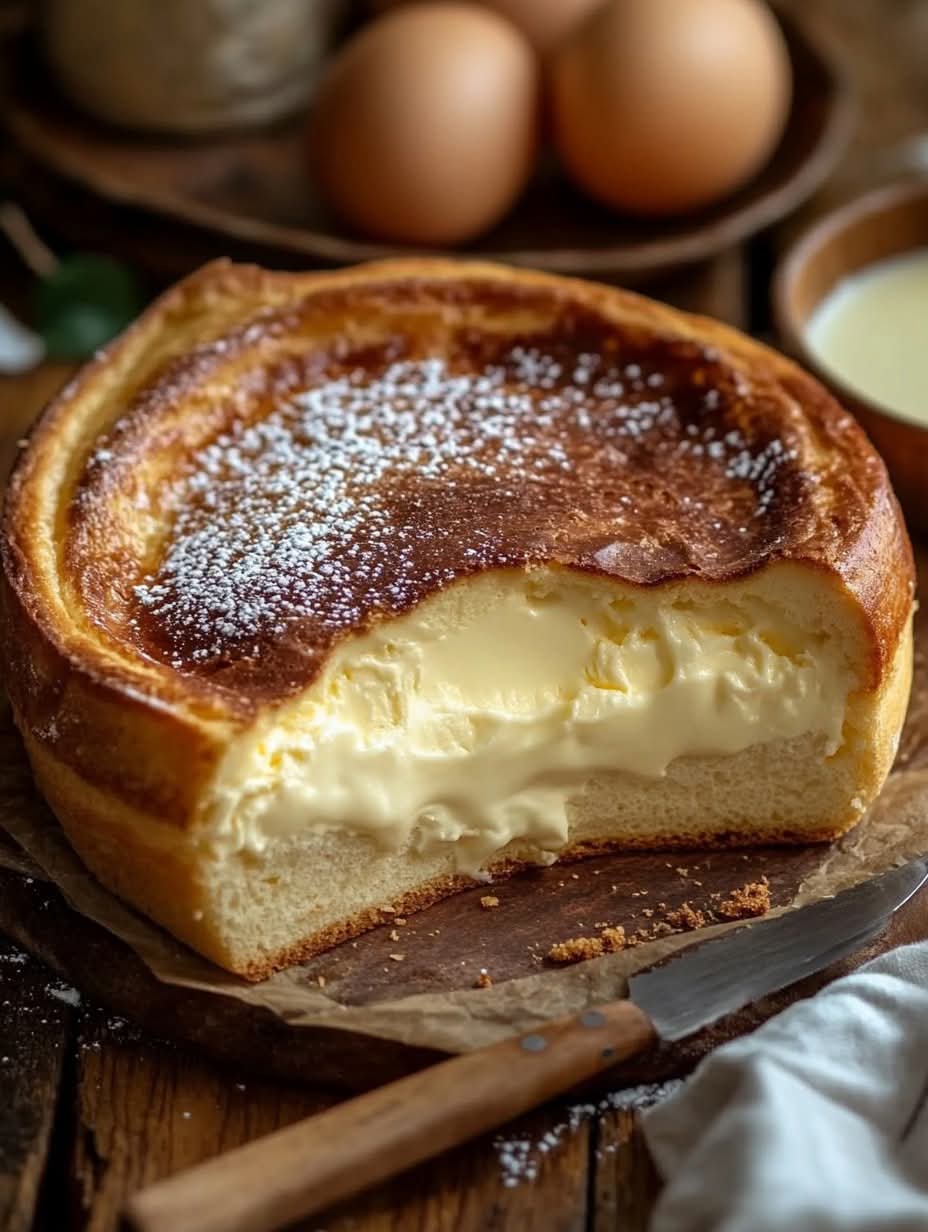
Rich, creamy, and impossibly smooth, this Brazilian-inspired Cream Cheese Pancake isn’t a breakfast dish but a decadent dessert that blurs the line between cheesecake and cake. With layers of tangy Philadelphia cream cheese, sweet condensed milk, fluffy eggs, and a tender crumb from wheat flour, it bakes low and slow into a golden, jiggly masterpiece. Serve it cool, slice it thin, and watch it disappear.
Why You’ll Love This Recipe
This dessert is a true comfort classic that has taken Latin America and social media by storm. Known as “Pancake de Queijo” or “Cream Cheese Cake,” it’s denser than a sponge cake, silkier than a pound cake, and richer than a traditional cheesecake—without needing a water bath. It’s perfect for special occasions, family gatherings, and make-ahead desserts since it tastes even better the next day. Many home bakers describe it as bakery-quality with minimal effort.
Ingredients
For the creamy base, you’ll need 190 g of Philadelphia-style cream cheese, 200 g of unsalted butter at room temperature, one can of sweetened condensed milk, four large eggs, and two teaspoons of pure vanilla extract.
For the light crumb, use 320 g of all-purpose flour, two teaspoons of baking powder, and half a can (about 200 ml) of evaporated milk to add moisture without curdling.
You can also garnish the cake with powdered sugar, fresh berries, or whipped cream if desired.
Step-by-Step Instructions
Preheat your oven to 180°C (350°F). Grease a 9-inch round springform pan and lightly dust it with flour or line the bottom with parchment paper.
In a large mixing bowl, beat the softened cream cheese and butter together using an electric mixer until creamy and smooth. Gradually pour in the condensed milk and mix until fully incorporated and glossy. Add the eggs one at a time, beating well after each addition, then mix in the vanilla extract and evaporated milk until smooth.
In a separate bowl, sift together the flour and baking powder three times. Gently fold the sifted dry ingredients into the wet mixture using a spatula. Mix only until no dry streaks remain—avoid overmixing, as it can make the cake dense.
Pour the batter into the prepared pan and smooth the top. Tap the pan gently on the counter to release air bubbles. Bake for about 60 minutes or until the top is golden brown and the center has a slight jiggle, similar to a cheesecake. If the top browns too quickly, cover it loosely with foil after 40 minutes.
Let the cake cool completely in the pan for one hour, then refrigerate it for at least four hours or overnight to set and enhance the flavor. Once chilled, run a knife around the edges, release the springform, and lift it off. Slice with a warm, damp knife for clean cuts, and serve slightly chilled.
Tips for Perfect Results
Use real Philadelphia cream cheese for the best texture, and ensure all ingredients are at room temperature to prevent lumps. Always sift the flour three times for a delicate crumb and chill the cake thoroughly before slicing. The flavor deepens beautifully after resting overnight.
Storage Tips
Store the cake covered in the refrigerator for up to five days. It also freezes well—wrap it tightly in plastic and foil, and freeze for up to three months. Thaw overnight in the refrigerator before serving. This cake is best served cold or at room temperature and should not be reheated.
Ingredient Substitutions
All-purpose flour can be replaced with a gluten-free 1:1 flour blend. Evaporated milk may be substituted with whole milk or oat milk for a slightly different texture. Homemade condensed milk can also be used, though it requires more time. Butter may be replaced with ghee or plant-based butter, but eggs are essential for structure and cannot be omitted.
Serving Suggestions
Serve this cake on a stand or tray for an elegant presentation. It pairs beautifully with fresh strawberries, mango slices, caramel drizzle, chocolate sauce, or a cup of hot coffee or tea. Double the recipe for larger gatherings or special occasions—it’s a guaranteed crowd-pleaser.
Cultural Context
Inspired by Brazilian bolo de pão de queijo and Argentine torta de ricota, this recipe celebrates Latin American traditions that turn simple dairy and flour into something extraordinary. It’s often found at birthdays, holidays, and family celebrations, where it represents comfort, creativity, and togetherness.
Frequently Asked Questions
You can bake this cake in a loaf pan for about 50 to 60 minutes, checking early. If your cake sinks in the middle, it may have been underbaked or the oven opened too soon. It’s not gluten-free unless you use a certified GF flour blend, but it can be made into cupcakes—fill liners three-quarters full and bake for 20 to 25 minutes. The full cake shouldn’t be air-fried, though individual slices can be reheated at 350°F for 6–8 minutes.
Allergy Information
This recipe contains dairy, eggs, and wheat. It’s naturally nut-free and can be made gluten-free using the right flour blend. Always check product labels when using processed ingredients.
Nutrition Facts (per slice, based on 12 servings)
Calories: 380
Fat: 22 g
Saturated Fat: 12 g
Carbohydrates: 40 g
Fiber: 1 g
Sugar: 24 g
Protein: 7 g
Sodium: 380 mg
Final Thought
This cake doesn’t shout—it quietly impresses. Golden, creamy, and perfectly balanced, it captures the beauty of simple ingredients transformed with care. When shared with loved ones, every slice speaks for itself: smooth, rich, and unforgettable. It’s more than a dessert—it’s a moment of joy worth savoring together.