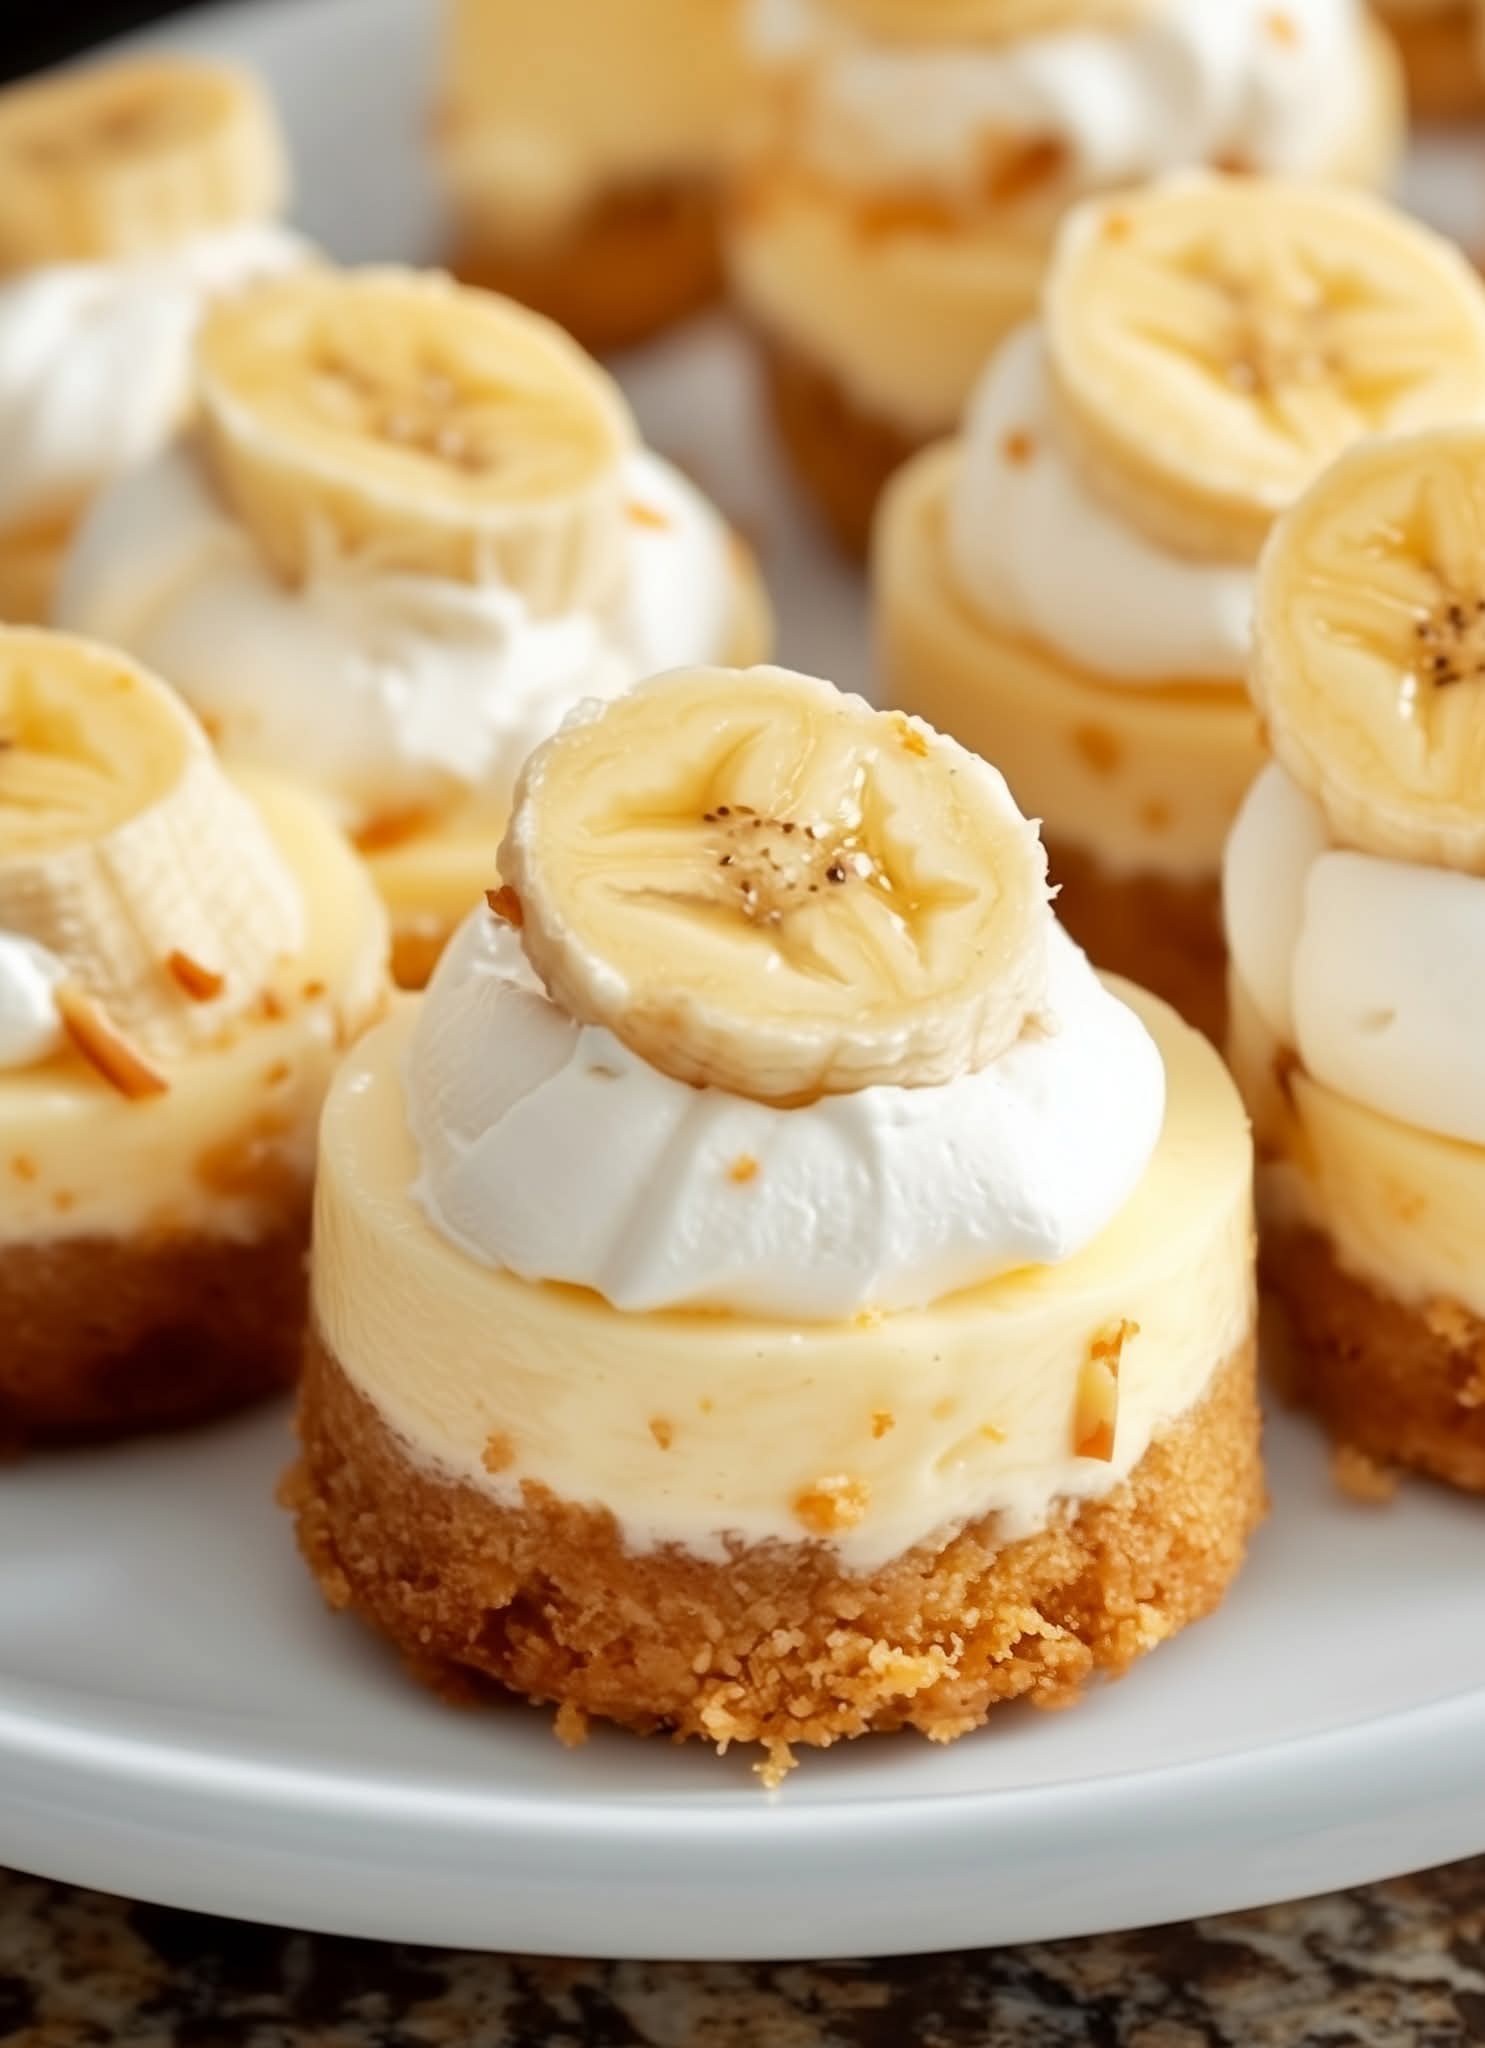
Silky, creamy, and layered with nostalgia—these individual desserts blend the classic flavors of banana pudding and cheesecake into one irresistible bite. With a buttery vanilla wafer crust, a luscious banana-infused filling, and fresh fruit on top, they’re no-bake magic in a cup: ready in minutes, chilled to perfection, and gone before you know it. This recipe is perfect for make-ahead parties, potlucks, holiday gatherings, kids’ treats, and no-cook summer desserts. Fans of Nilla wafers, banana cream pie, and creamy, decadent desserts will find this recipe irresistible.
Why You’ll Love This Recipe
This isn’t just another dessert—it’s comfort food reinvented. Inspired by Southern banana pudding and retro Jell-O-era treats, these mini cheesecakes deliver big flavor without turning on the oven. They’re rich but not heavy, sweet but refreshingly bright, and perfect for satisfying a late-night craving or impressing guests at any gathering. The layers of buttery crust, creamy banana filling, and fresh banana on top create a nostalgic yet elevated dessert experience.
Ingredients (Makes 12 Mini Cups)
For the Crust
1 cup (about 60g) crushed vanilla wafers (Nilla Wafers or store brand)
3 tbsp (45g) unsalted butter, melted
For the Cheesecake Filling
8 oz (225g) cream cheese, softened to room temperature
½ cup (120ml) sweetened condensed milk (not evaporated milk)
½ cup (100g) ripe banana, mashed (~1 medium banana)
1 tsp pure vanilla extract
Pinch of lemon juice (keeps banana from browning)
For the Topping
1–2 bananas, thinly sliced
Extra crushed vanilla wafers
Optional: whipped cream or caramel drizzle
For Serving
12 small jars, glasses, or clear cups (4-oz size ideal)
Step-by-Step Instructions
1. Make the Crust
In a small bowl, mix crushed vanilla wafers and melted butter until the texture resembles wet sand. Divide evenly among 12 cups or jars (~1–2 tbsp each). Press down firmly with the back of a spoon or small glass to form a compact base.
2. Whip the Filling
In a medium bowl using a hand mixer, beat softened cream cheese on medium speed for 1 minute until smooth and fluffy. Add sweetened condensed milk, mashed banana, vanilla, and lemon juice. Beat another 1–2 minutes until thick, glossy, and fully blended.
3. Layer & Chill
Spoon filling over crusts, filling almost to the top. Smooth tops with an offset spatula or damp finger. Cover and refrigerate at least 4 hours, preferably overnight, for firm, sliceable texture.
4. Top & Serve
Just before serving, arrange banana slices on top of each cup. Sprinkle with extra crushed wafers and add a dollop of whipped cream or drizzle of caramel if desired. Serve cold, straight from the fridge.
You Must Know
Use ripe bananas for smooth, sweet flavor. Sweetened condensed milk adds both sweetness and structure. Don’t skip lemon juice—it prevents browning and balances flavor. Tastes better the next day as flavors deepen overnight. Freezer-friendly? Not recommended; condensed milk can separate when thawed.
Storage Tips
Store covered in the fridge for up to 3 days. Add banana slices just before serving to prevent sogginess. Keep chilled—these are best served cold.
Ingredient Substitutions
Vanilla wafers: graham crackers, shortbread, or gluten-free cookies for different crust flavor. Sweetened condensed milk: homemade version by simmering milk and sugar. Cream cheese: Neufchâtel or dairy-free alternative (slight texture change). Banana: applesauce or mango puree for variation. Lemon juice: lime juice or omit for a milder brightness.
Serving Suggestions
Serve on a platter with colorful picks. Perfect for dessert tables, birthdays, or weekend brunches. Double the batch and gift in mini jars with ribbons. Pair with coffee, tea, or chocolate milk.
Cultural Context
Rooted in American Southern kitchens and vintage no-bake traditions, this recipe celebrates the joy of simple pleasures. Found at church suppers, family reunions, and creative homes alike, it demonstrates how humble ingredients—layered with love—become something unforgettable.
Pro Tips
Double the recipe to feed a crowd. For more tang, add 1 tbsp Greek yogurt to the filling. Assemble unbaked cups 1–2 days ahead and chill before topping. Label your dish—people will ask for the recipe. Say “ready?” before serving—it’s part of the ritual.
Frequently Asked Questions
Q: Can I make them in regular glasses? Absolutely! Use 6-oz jars and double the layers for taller servings.
Q: Why did my filling turn out runny? Likely under-whipped or warm ingredients. Chill everything well and beat until thick.
Q: Is this gluten-free? Only if using GF vanilla wafers or cookies.
Q: Can I freeze them? Not recommended—the texture may become grainy after thawing.
Q: Can I use canned banana? No—fresh is best. Canned versions are too mushy and overly sweet.
Allergy Information
Contains dairy (butter, cream cheese, condensed milk) and wheat (in most cookies). Gluten-free option: use certified GF cookies. Nut-free: naturally nut-free. Always check labels, especially on processed cookies and condensed milk.
Nutrition Facts (Per Cup – Approximate)
Calories: 190
Fat: 10g
Saturated Fat: 6g
Carbohydrates: 23g
Fiber: 1g
Sugar: 16g
Protein: 3g
Sodium: 120mg
These cups don’t shout. They sit quietly in the fridge, cool and inviting, saying everything a great dessert should: “Unwrap me. Eat me. This is good.” That’s how the best ones begin—not with silence, but with banana, boldness, and someone who says, “Let’s make it together.”