Christmas Cherry Bars – Festive, Buttery Dessert Magic
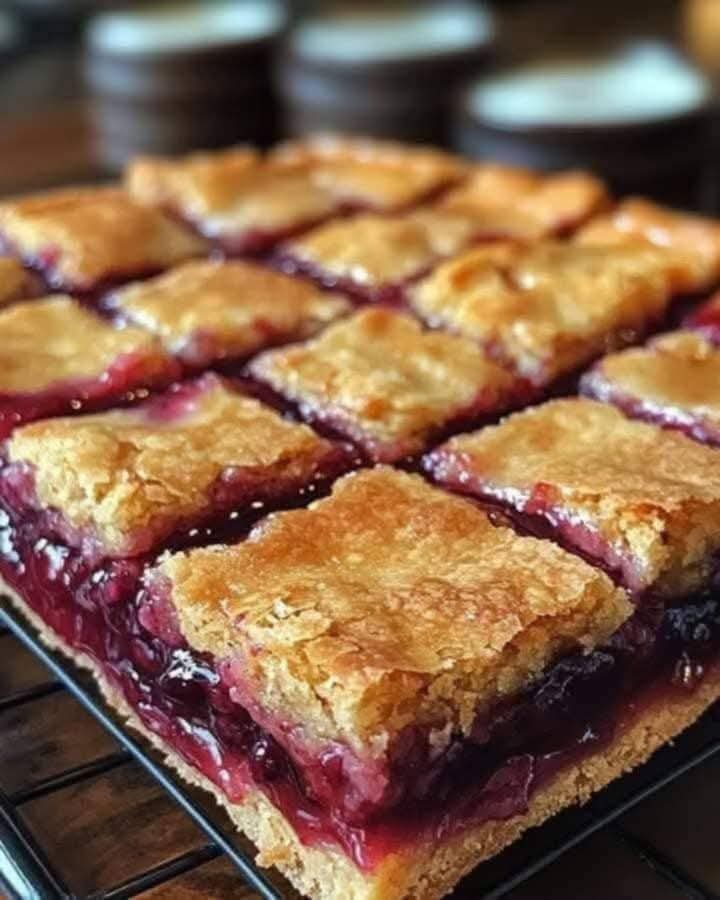
If you’re looking for the ultimate holiday dessert that’s as beautiful as it is delicious, these Christmas Cherry Bars are it. With a soft, buttery cake base, a layer of luscious cherry pie filling, and a drizzle of almond-vanilla glaze, these bars capture everything we love about festive baking—sweetness, warmth, and a touch of nostalgia. Whether you’re planning your Christmas cookie trays, hosting a cozy gathering, or gifting homemade treats, these cherry dessert bars are a guaranteed hit. They taste like classic cherry pie transformed into easy-to-serve squares—perfectly tender, perfectly balanced, and perfectly merry.
Why You’ll Love This Recipe
These cherry bars aren’t just another holiday treat—they’re comfort and cheer in every bite. The base is rich and buttery, almost like shortbread but softer and more cake-like. The cherry layer adds a bright, juicy sweetness that perfectly complements the delicate almond undertone. The simple glaze adds just the right finishing touch, giving these bars bakery-level beauty and flavor. They slice cleanly, travel well, and taste even better the next day, making them a baker’s dream for busy holiday seasons.
Perfect for:
• Christmas cookie exchanges and dessert tables
• Festive brunches and potlucks
• Homemade food gifts
• Freezer-friendly holiday prep
Ingredients
For the Bars
• 1 cup (2 sticks / 225g) unsalted butter, softened to room temperature
• 2 cups (400g) granulated sugar
• 1 tsp salt
• 4 large eggs, room temperature
• 1 tsp pure vanilla extract
• ¼ tsp almond extract (essential for that classic cherry-pie aroma)
• 3 cups (360g) all-purpose flour, spooned and leveled
• 2 (21 oz / 590g) cans cherry pie filling (use traditional red cherry filling, not light)
For the Glaze
• 1 cup (120g) powdered sugar, sifted
• ½ tsp vanilla extract
• ½ tsp almond extract
• 2–3 tbsp milk (whole or 2% recommended)
Step-by-Step Instructions
Step 1: Preheat and Prepare
Preheat the oven to 350°F (175°C). Grease a 15×10×1-inch jelly roll pan or a 9×13-inch pan for thicker bars. For easier removal, line with parchment paper leaving overhangs on the sides.
Step 2: Make the Dough
In a large mixing bowl, beat softened butter, sugar, and salt with a hand or stand mixer on medium speed for 2–3 minutes until light, fluffy, and pale. Add the eggs one at a time, beating well after each addition. Mix in the vanilla and almond extracts. Gradually add the flour on low speed until just combined—avoid overmixing to keep the bars soft and tender.
Step 3: Assemble the Layers
Reserve about 1½ cups of dough for the topping. Spread the remaining dough evenly into the bottom of your prepared pan. Spoon the cherry pie filling evenly over the dough base. Crumble the reserved dough into small teaspoon-sized pieces and scatter across the cherry layer.
Step 4: Bake
Bake for 30–35 minutes, or until the edges are golden brown and the center is set. A toothpick inserted should come out mostly clean. Let the bars cool completely in the pan on a wire rack—about 2 hours.
Step 5: Make the Glaze
Whisk together the powdered sugar, vanilla, almond extract, and 2 tablespoons of milk. Add more milk ½ teaspoon at a time until the glaze reaches a smooth, drizzle-like consistency.
Step 6: Drizzle and Slice
Drizzle the glaze over the cooled bars using a spoon or piping bag. Once set, use a sharp knife to cut into squares or rectangles, wiping the blade between cuts for clean edges. Serve at room temperature.
You Must Know
• Always use full-fat ingredients for the best texture and flavor.
• Allow the bars to cool completely before slicing—this helps the filling firm up and ensures neat slices.
• Almond extract is non-negotiable; it beautifully enhances the cherry flavor.
• These bars taste even better the next day as the flavors meld together.
• They freeze perfectly for up to 3 months—ideal for make-ahead baking.
Storage Tips
Store covered at room temperature for up to 3 days, or refrigerate for up to 5 days. Freeze unglazed bars by wrapping tightly in plastic and foil, then thaw overnight before glazing. To enjoy warm, microwave individual slices for 10–15 seconds.
Ingredient Substitutions
Cherry Pie Filling: Substitute with blueberry, raspberry, or apple pie filling for seasonal variations.
Almond Extract: Use ½ tsp Amaretto liqueur or omit if preferred.
Butter: Margarine or plant-based butter can be used with slight texture changes.
Eggs: Replace with flax eggs (2 tbsp ground flax + 6 tbsp water) for a vegan option.
All-Purpose Flour: Use a gluten-free 1:1 flour blend for a gluten-free version.
Serving Suggestions
• Arrange on a holiday platter with festive napkins.
• Cut into bite-sized squares for cookie swaps.
• Double the recipe and gift in decorative tins or boxes.
• Pair with hot coffee, spiced tea, or creamy eggnog for the ultimate winter treat.
Cultural Context
This recipe draws inspiration from classic American Midwest holiday baking traditions. Cherry bars like these often appear at church gatherings, community bake sales, and family kitchens during the Christmas season. They represent the heart of homemade comfort—the joy of sharing something sweet and simple that brings people together.
Pro Tips
• Double the recipe—it’s perfect for sharing or freezing.
• For extra tartness, stir 1 tbsp lemon juice into the cherry filling.
• Make ahead: Assemble the unbaked pan, cover, and refrigerate overnight; bake fresh when ready.
• Always label your dish—friends will ask for the recipe!
• Say “Ready?” before slicing—it’s part of the holiday fun.
Frequently Asked Questions
Q: Can I use fresh cherries instead of canned filling?
A: Yes! Simmer 3 cups of pitted cherries with ⅓ cup sugar and 1 tbsp cornstarch until thickened, then cool before using.
Q: Why are my bars soggy?
A: They were likely underbaked or cut before cooling fully. Let them set completely before slicing.
Q: Is this recipe gluten-free?
A: Only if you use a certified gluten-free flour blend in place of all-purpose flour.
Q: Can I make cupcakes instead?
A: Absolutely! Fill lined muffin tins ¾ full and bake at 350°F for 18–22 minutes.
Q: Can I pipe the glaze for a neat finish?
A: Yes—use a zip-top bag with a small corner snipped off for clean, decorative lines.
Allergy Information
Contains: Dairy (butter), eggs, and wheat.
Gluten-free option: Use certified GF flour.
Nut-free: Naturally nut-free—almond extract contains no real nuts. Always check product labels.
Nutrition Facts (Approx. per bar – 24 servings using a 15×10 pan)
Calories: 280 | Fat: 12g | Saturated Fat: 7g | Carbohydrates: 40g | Fiber: 1g | Sugar: 28g | Protein: 4g | Sodium: 220mg
Conclusion
These Christmas Cherry Bars are more than a dessert—they’re a celebration of everything joyful about holiday baking. Buttery, fruity, and glazed to perfection, they bring together tradition, flavor, and festive spirit in every slice. Whether enjoyed warm from the oven or shared as a gift, they say everything a perfect treat should: sweet, simple, and made with love. For every holiday table, bake sale, or cozy night in—these bars deliver cherry cheer in every bite.