Making professional-quality ice cream at home is surprisingly simple—you don’t even need an expensive machine. This “no-churn” method uses a magic base of whipped cream and sweetened condensed milk to create a velvety, scoopable texture that rivals your favorite scoop shop.
Meta Description: Learn how to make easy, 3-ingredient no-churn vanilla and strawberry ice cream at home without an ice cream maker. Creamy, smooth, and perfect for summer!
Recipe Overview
- Prep time: 20 minutes
- Freeze time: 6 hours (or overnight)
- Yields: 2 large containers (approx. 1.5 liters total)
Ingredients
The Magic Base:
- 600ml (2.5 cups) Heavy Whipping Cream, very cold
- 1 can (395g/14oz) Sweetened Condensed Milk, chilled
- 2 tsp Pure Vanilla Extract
For the Strawberry Version: - 1/2 cup Strawberry Puree (blended fresh or frozen strawberries)
- 1-2 drops Pink or Red food coloring (optional, for that vibrant look in the photo)
Instructions
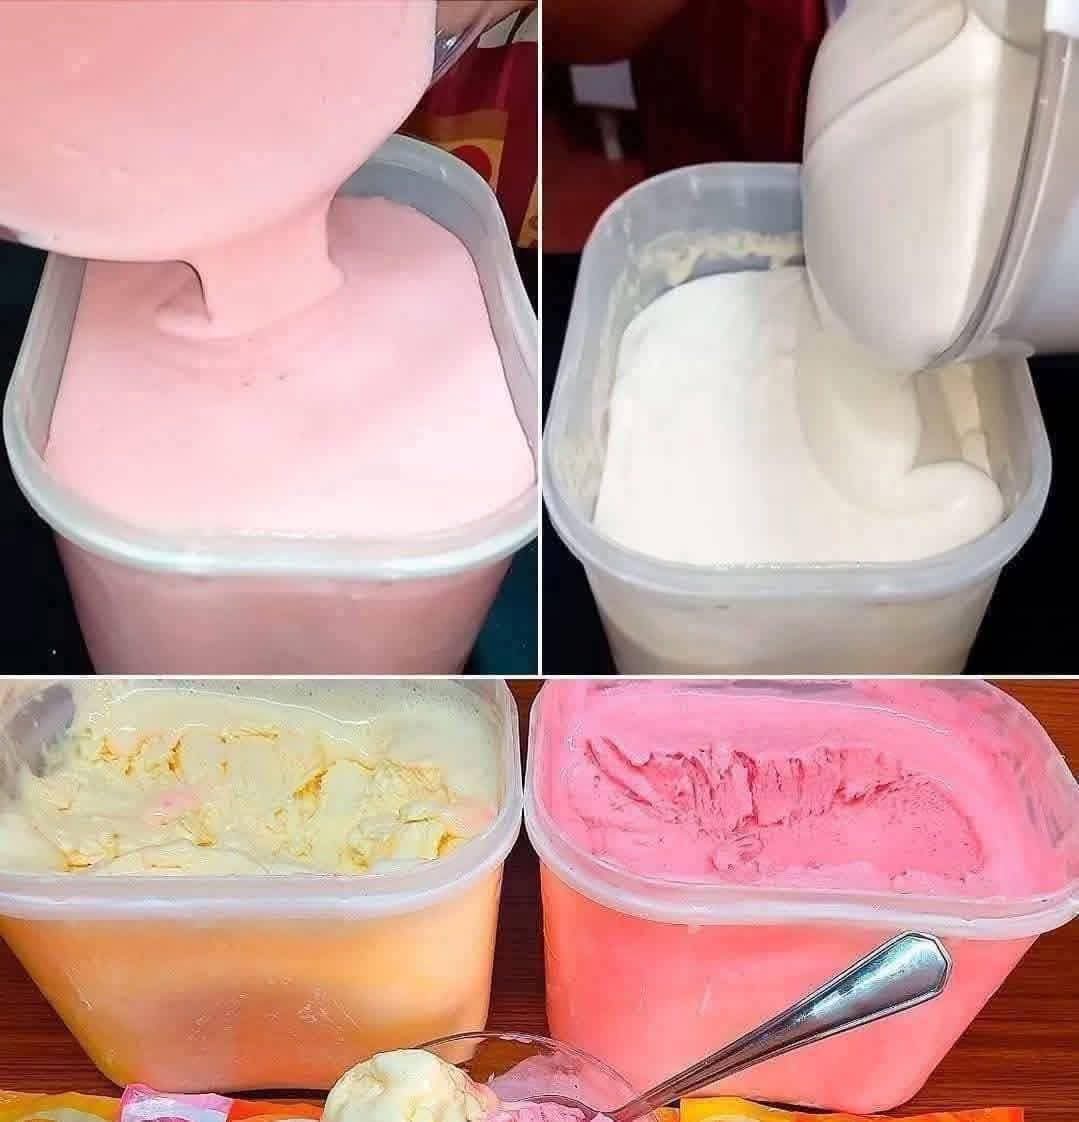
Step 1: Prep the Strawberry Swirl
If you want the pink container shown in the image, blend a handful of strawberries until smooth. For a more intense flavor, simmer the puree in a small pan for 5 minutes to reduce the water content, then let it cool completely in the fridge before using.
Step 2: Whip the Cream
In a large, chilled bowl, pour in the cold heavy whipping cream. Using an electric hand mixer or stand mixer, beat on medium-high speed until stiff peaks form.
Tip: Be careful not to over-beat, or it will turn into butter! Stop as soon as the cream holds its shape firmly.
Step 3: Combine the Base
Gently fold the chilled sweetened condensed milk and vanilla extract into the whipped cream using a spatula. Use a “cut and fold” motion—don’t stir vigorously, or you’ll deflate the air that makes the ice cream fluffy.
Step 4: Create the Flavors
- Vanilla: Pour half of the mixture into your first freezer-safe container.
- Strawberry: To the remaining half, gently fold in the strawberry puree and food coloring until the color is uniform. Pour this into the second container.
Step 5: Freeze
Smooth the tops with a spoon (as seen in the photo). Cover the containers tightly with a lid or plastic wrap (pressed against the surface to prevent ice crystals). Freeze for at least 6 hours, preferably overnight.
Service Suggestions
- The Classic Scoop: Serve in a chilled glass bowl with a sprig of mint.
- The Sundae: Top the vanilla with warm chocolate ganache and the strawberry with fresh sliced berries.
- Ice Cream Sandwiches: Press a scoop between two large chocolate chip cookies.
Storage Tips
- Keep it Airtight: Homemade ice cream lacks the preservatives of store-bought versions, so it can develop freezer burn faster. Always use an airtight lid.
- The “Deep Freeze”: Store in the back of the freezer rather than the door to maintain a consistent temperature.
- Shelf Life: Best enjoyed within 2 weeks for maximum creaminess.
FAQs
Q: Why is my ice cream icy instead of creamy?
A: This usually happens if the cream wasn’t whipped to stiff peaks or if the strawberry puree had too much water. Make sure your ingredients are ice-cold before starting!
Q: Can I use low-fat cream?
A: No. You need the high fat content (at least 35%) of heavy whipping cream to create the structure and creaminess.
Q: How do I make it easier to scoop?
A: Let the container sit on the counter for 3–5 minutes before scooping.Conclusion
This no-churn method is a total game-changer for dessert lovers. With just a few minutes of prep and a bit of patience while it freezes, you get a rich, decadent treat that looks just as good as the photo. Feel free to get creative by adding chocolate chips, crushed cookies, or nuts to the base!