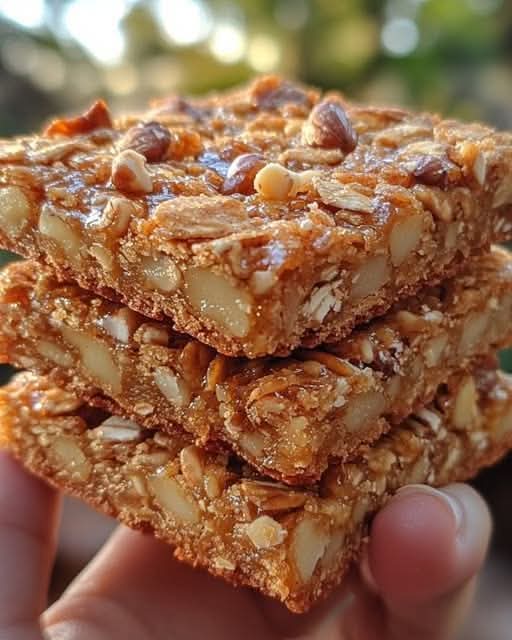
Indulge in the perfect fusion of a classic Australian treat and a rich, chewy dessert bar. This Condensed Milk Anzac Biscuit Slab takes the iconic, coconut-and-oat-filled flavor profile of a traditional Anzac biscuit and elevates it with the creamy, decadent texture of sweetened condensed milk. Baked into a thick, golden slab, it is the ultimate satisfying treat for tea time, lunchboxes, or a quick snack on the go.
Meta Description
Discover the ultimate Condensed Milk Anzac Biscuit Slab recipe! Chewy, crunchy, and packed with oats and coconut, this easy, one-pan dessert is a delicious twist on a classic.
Ingredients
- 1 ½ cups rolled oats
- 1 cup plain (all-purpose) flour
- ¾ cup brown sugar, packed
- ¾ cup desiccated coconut
- 125g (4.4 oz) butter
- ¼ cup golden syrup (or honey/maple syrup if unavailable)
- ½ can (approx. 200g / 7 oz) sweetened condensed milk
- ½ tsp baking soda (bicarbonate of soda)
- 2 tbsp boiling water
Instructions
- Prep: Preheat your oven to 350°F (175°C). Line a square or rectangular baking pan (approx. 8×8 or 9×9 inch) with parchment paper, leaving an overhang on the sides for easy removal.
- Mix Dry Ingredients: In a large mixing bowl, combine the rolled oats, flour, brown sugar, and desiccated coconut. Stir until evenly distributed.
- Melt Wet Ingredients: In a small saucepan over low heat, combine the butter, golden syrup, and sweetened condensed milk. Stir constantly until the butter is fully melted and the mixture is smooth and well-combined. Do not let it boil vigorously.
- Activate Baking Soda: In a separate small ramekin, dissolve the baking soda in the 2 tablespoons of boiling water. Quickly stir this into the warm butter/condensed milk mixture; it will foam up slightly.
- Combine: Pour the wet mixture over the dry ingredients. Mix thoroughly until all the dry ingredients are completely coated and you have a thick, cohesive batter.
- Press and Bake: Transfer the mixture into your prepared pan. Use the back of a spoon or a spatula to press the mixture down firmly and evenly into the corners.
- Bake: Bake for 20–25 minutes, or until the edges are golden brown and the center feels set.
- Cool: Remove from the oven and allow the slab to cool completely in the pan before lifting it out using the parchment paper edges. Slice into bars or squares once fully cooled.
Service Suggestions
- The Coffee/Tea Companion: Serve alongside a warm cup of English Breakfast tea or a strong flat white; the sweetness of the condensed milk pairs perfectly with bitter hot beverages.
- Dessert Plating: Warm a slice slightly in the microwave for 10 seconds and serve with a scoop of vanilla bean ice cream for a decadent dessert.
- Drizzle: For an extra touch, drizzle the cooled slabs with melted dark chocolate or a simple powdered sugar glaze.
Storage Tips
- Countertop: Store in an airtight container at room temperature for up to 5 days.
- Freezing: These slabs freeze beautifully. Wrap individual bars in plastic wrap and place them in a freezer-safe bag for up to 3 months. Thaw at room temperature for 30 minutes before serving.
FAQs
Can I substitute the golden syrup?
Yes, if you cannot find golden syrup, light corn syrup, honey, or maple syrup are suitable alternatives. Note that maple syrup will add a distinct flavor to the final product.
Why did my slab fall apart?
If the slab is crumbly, it may not have been pressed firmly enough into the pan before baking, or it was sliced while still too warm. Always let it cool completely to room temperature (or place in the fridge for 30 minutes) to allow the sugars to set.
Can I make this gluten-free?
You can substitute the plain flour with a high-quality 1:1 gluten-free all-purpose flour blend. Ensure your oats are certified gluten-free as well.
Conclusion
This Condensed Milk Anzac Biscuit Slab is a delightful upgrade to a pantry staple. Its chewy texture, combined with the caramelized notes of the brown sugar and golden syrup, makes it an irresistible crowd-pleaser. Simple to make and easy to store, this recipe is sure to become a regular feature in your baking rotation!